Recipe Links
Basil Oglio Fra Diavlo Black Pepper and Fennel Shortbread Crackers Bleu Bacon and Italian Burgers Blueberry Almond Crumble Pie Braised Beef Short Ribs Breakfast Sausage Butter Pecan Shortbread Cookies Buttermilk Pancakes California Grilled Artichokes Capressa Fra Diavlo Cherry Garcia Icecream Cherry Sangria Chicken and Polenta Chicken Cacciatore Chicken Vegetable Soup with Broccoli Rabe Chocolate Cake with Chocolate Ganache Frosting Chocolate Sparkle Cookies Christmas Shortbreads Classic Hummus Coconut Cake Coq Au Vin Wine Braised Chicken Cranberry Orange Crumb Cake Cream Corn and Lima Bean Succotash Devishly Chewy Brownies Eggplant Parmesan Fetticini Alfredo with Bacon and Peas Fusilli a la Vodka Sauce Ginger Chocolate Spice Cookies Gnocci with Broccoli Rabe and Sausange Gramma Daly's Cole Slaw Grilled Beef Tenderloin with Blue Cheese Butter Grilled Swordfish Hazelnut Biscotti Cookies Heavenly Blondies Homemade Italian Sausage Homemade Sauerkraut Hot Artichoke Dip Italian Meatballs Little Sister's BBQ Ribs Molten Chocolate Cake Olio fra diavlo pasta salad Pumpkin Gingerbread Cake Quiche (Sans the Lorraine) Red Velvet Cake Seafood Francaise Shaved Brussel Spouts & Polenta Cake Slow Cooker Thai Pork and Coconut Rice South Florida Fish Stew Spagetti ala Olio Aglio and Pepperoncino Spiced Pear and Cranberry Chutney Steak Braciole Sunday Tomato Sauce Sweet Potato Corned Beef Hash Swordfish Oreganade Teriyaki Pork Tenderloin and Spicy Thai Peanut Sauce The White House Maryland Crab Cakes Tomato Bisque with Chichen and Rice Turkey Paprikash Soup Walnut Shortbread Christmas Cookies White Bean Pasta Fagioli
Monday
Dec192011

Christmas Jars


Back to Strawberry Hollow for Christmas, and sure enough, a new potpourri for the season. This was starting to a get a little expensive though, especially when I starting using these as hostess gifts.  The Mason Jars are cheap.  For the clear ones in good condition, you needn’t spend more than $1.  The aqua blue ones tend to be slightly more expensive.  Kosher salt, votive holders and tea lites are also inexpensive.  But the potpourri is bit pricey, and I didn’t want to sacrifice for a lesser quality, so I found a way to use just a little bit less for each jar:  add about an inch of salt at the bottom of the jar and then put the potpourri in.  Looks like snow, and easier than flocking.

Monday
Dec192011

Ragu Sauce

The meat used for this sauce varies from family to family.  Use what you like, but do try to use equal portions of three different types of meat. Pork, Beef, Veal, Turkey, Venison, Chicken, Duck.  Doesn't matter.  I have historically made with with Duck, Pork and Veal, but since moving back to Italianland, I've found it necessary to switch to the more traditional beef, pork and turkey, and increasing the amount of tomato in the sauce so that it is recognizable to my family.

The groups of ingredients in this recipe are to be added slowly, with cooking time in between, to allow each ingredient to develop its own flavor.  Adding them all at once will just give you stew, not Ragu.

This recipe takes a good two hours to make properly, but you can make it a couple of days in in advance, or freeze it for up to three months.  Once you have the sauce made, the Lasagna is simple to put together.  You can even make the Bechemel Sauce a couple of days in advance and throw all of the cold ingredients together, then either bake or freeze.  The Lasagna itself needs to be room temperature and then takes a good two hours of cook and rest time, so plan accordingly, depending on the size of your pan.  For my Christmas Dinner, my pan is about 12x18x3 inches, so it will take all of that time to bake and set.

Ingredients:

1 stick unsalted butter
¼ lb smoky bacon, diced
2 medium sweet onions
2 lb ground wild boar (you can sub ground pork)
1 lb ground beef
1 lb ground turkey
1 oz dried porcini mushrooms
4 cloves garlic, chopped
1 teaspoon fresh thyme
1 teaspoon fresh oregano
1 teaspoon fresh marjoram
½ teaspoon fresh rosemary
Salt & Pepper to taste
1 can tomato paste
1 cup brown meat stock (preferably home made)
1 cup red wine
1/2 pint heavy cream

  • Chop the mushrooms, and soak them in 1-cup warm water until very soft.  Drain the mushrooms and add the liquid to the brown stock.
  • Mix the tomato paste with the red wine.
  • In a large Dutch oven, melt about half the butter; sauté the bacon bits until completely rendered.
  • Add the ground meat and brown evenly, until carmelization starts. This should take about 20 minutes. If you don’t have a big sauté pan, work in batches, adding a little more butter, so that the meat actually browns and doesn’t steam.  Remove the meat from the pan into a bowl and set aside.
  • Add what's left of the butter to the pan and when it is melted, add the garlic, and sauté for one minute (make sure your onions are ready to go in, or you may burn the garlic)  Add the onions and stir, making sure to get the garlic off the bottom of the pan.  Saute until they begin to carmelize.  Then add the chopped herbs and sauté another one or two minutes.
  • Add the cooked meat and the mushrooms back to the pan and combine. 
  • Sprinkle the mixture with the salt, pepper, before proceeding to the next step.
  • If you want a little more traditional sauce, add the 28 oz can of good quality crushed tomatoes at this stage, and allow it to reduce somewhat.
  • Alternate adding ½ of each of the liquids to the pan, (mushroom/stock, wine/paste) simmering between additions until the liquid is reduced and starting to thicken.  This process should take about 45 minutes. 
  • Add the cream to the sauce, and heat through.  Taste and adjust for seasoning.  

For Serving:

If you are just serving this over pasta, you will have more than enough for at least 4 lbs of pasta, so I recommend freezing at least half of the source, and in two separate containers, of approximately 1 quart each.  Then use 1 quart of sauce for each pound of pasta.

If you are going to make the Lasagna, then follow these instructions:

2-4 boxes no-cook pasta sheets (for the Lasagna)
1/2-1 recipe Bechemel Sauce (see below)

  • For the Lasagna, ladle a little sauce in the bottom of your pan, just enough to cover the bottom, then layer the pasta sheets, breaking and fitting them as necessary. 
  • Add another layer of sauce and then a layer of the Bechemel Sauce, and repeat until the pan is full.  Press down on the layers to fit lots of them in the pan (my pan is a good 3 inches deep), and I like to squeese in at least six layers, so use your sauces judiciously).
  • Sprinkle with a little fontina cheese or some additional parmasean on the top if you wish.
  • If you are making the Lasagna in advance, let it come to room temperature before baking.
  • Bake in a 350 degree over, lightly covered with foil, until the entire pan is bubbling all the way through the center, about 60 minutes, but check it at about 45 minutes.
  • Remove the foil and continue baking for another 15-20 minutes until the top starts to crust over.
  • Remove the Lasagna from the oven and allow it to rest for about 15 minutes before you attempt to cut it.

Bechemel Sauce

This is a Tuscan style Lasagna, which eliminates the ricotta and the mozzarella of the Southern Italian style of cooking.  Neither cheese is my favorite, and I prefer my Lasagna with lots more layers of pasta, than thick layers and lumps of cheese.  If you have ever had Pastistio, a Greek style Lasagna, this is rather more like that in style and uses a similar Bechemel, Meat Sauce and Pasta Layer together.  There is a ratio of ingredients here which can be reduced or increased accordingly, but this is the classic "white" or "mother" sauce found everywhere.  Depending on how much Lasagna you are making, you may have some sauce left over.  Pour it over pasta shapes and bake it for a light mac & cheese, or over blanched broccoli or other vegetable and bake it for au gratin.  A little buttered bread crumb on top wouldn't hurt either.

4 TBS Butter
4 TBS Flour
4 cups whole milk
Pinch ground nutmeg
Salt & Pepper
2-4 cups grated parmesan cheese

  • In a large sauce pan, melt the butter.
  • When it is melted and begins to foam, add the flour and whisk into a paste.
  • Allow the paste (or roue) to cook for about 2 minutes, whisking the entire time.  You want to cook the flour, but not brown it.
  • Add the milk and bring to a slow boil, until the sauce thickens into something a little less than pudding.
  • Add 2 cups of the grated cheese and stir until the cheese is melted. 
  • Add the nutmeg.
  • Taste it.   This is the only cheese in your Lasagna, unless you choose to add in some shredded fontina between the layer, which is another choice.  If it is cheesy enough, add salt and pepper to taste.  If it is not, add some additional cheese until you get the taste you want, and then add more salt & pepper.  Remember, cheese has a lot of salt in it, so salt last, not first.
  • Allow the sauce to cool completely before using.  I typically make mine a day or two in advance of using it, and store it in the refridgerator (but don't freeze it).
Monday
Dec192011

The House Tour

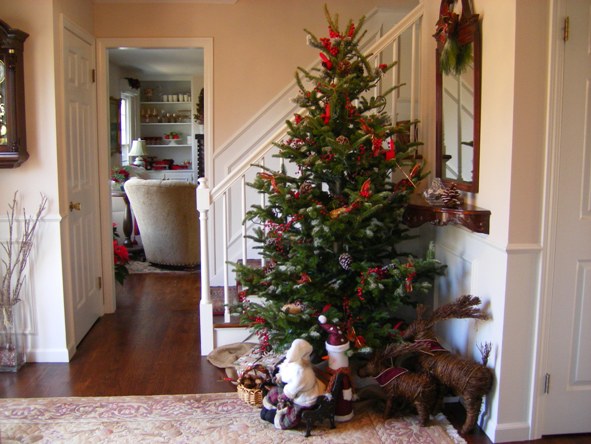
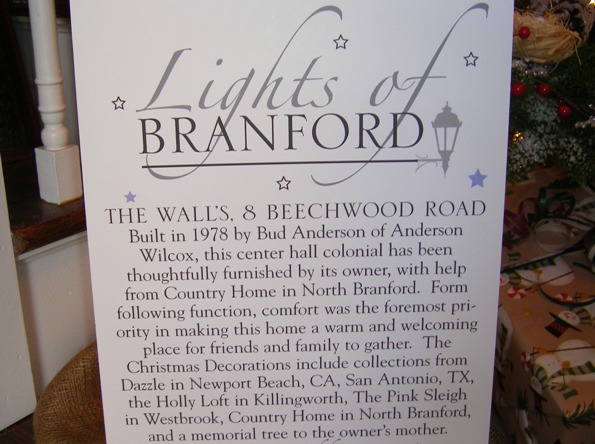
The house on Beechwood Road was one of my very favorite houses.  Great bones, as they say.  So I was excited to put it on the Lights of Branford Holiday House Tour in 2007, to benefit the Blackstone Memorial Library.  This is the Entryway as you walk into the front door.  Looking through into the Family Room, past the staircase.   

 Please enter . . .

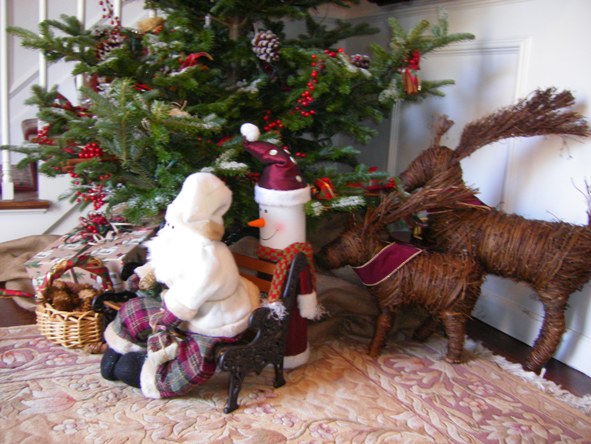
Woodsy Santa and Little Deer to greet you.  The Little Deer were from Target, the woodsy Santa was my mother's, and the Cat Bench was on loan (at the time), from Chris.

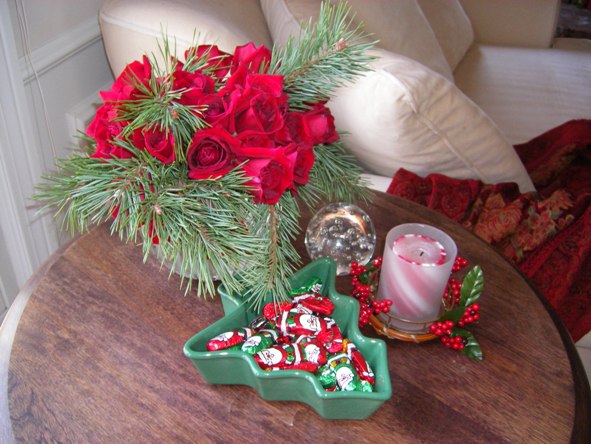
Don't hesitate to have a treat.  Coming into the Family Room.

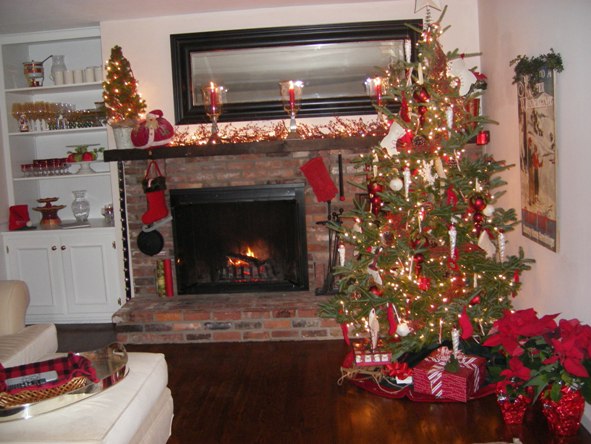
The Family Room, with the World's Greatest Fireplace.  No kidding.  Behind the tree is an opening known as a Wood Butler.  It has a door out the back and you load your firewood into the house from that door which opens into the garage.  I kept my wood rack underneath the door, never had to go outside to get more firewood.  It as nice and dry and I didn't have to drag it all over the house.  Never saw that anywhere else ever again.

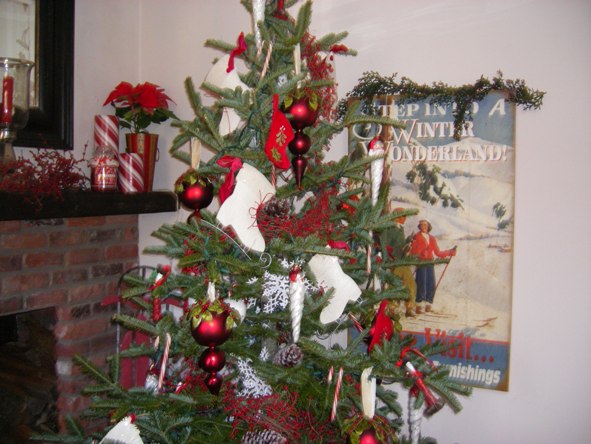
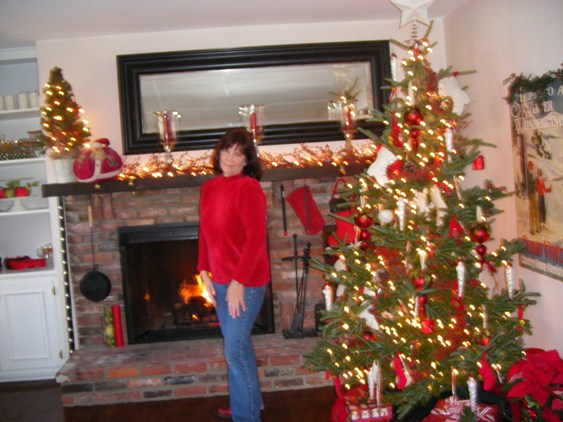
I now think of this as the Tree of Grace, since it was my first tree after meeting her.  Most of these tree decorations came from the Pink Sleigh, and the sign behind the tree was on loan from Country Home in North Branford. 

You exit the Family Room from the other side, walking directly into the kitchen.


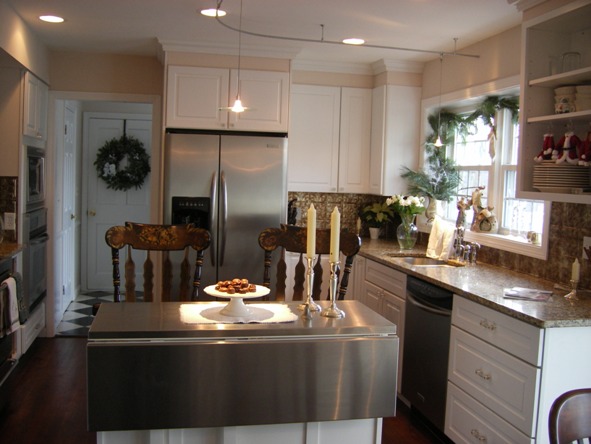
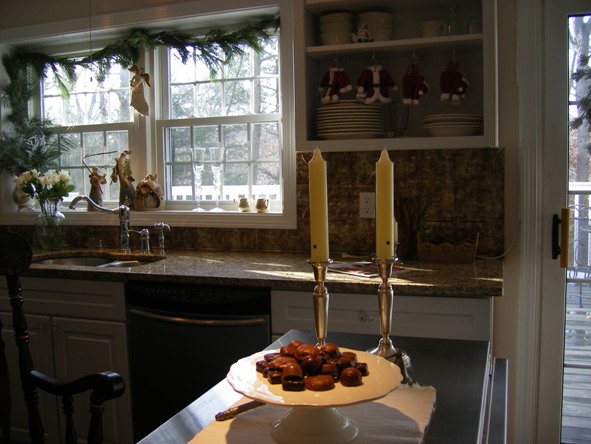
Didn't forget the kitchen.  It's where most people end up.  We sat in the rockers, enjoyed some champagne and greeted our guests with chocolates.


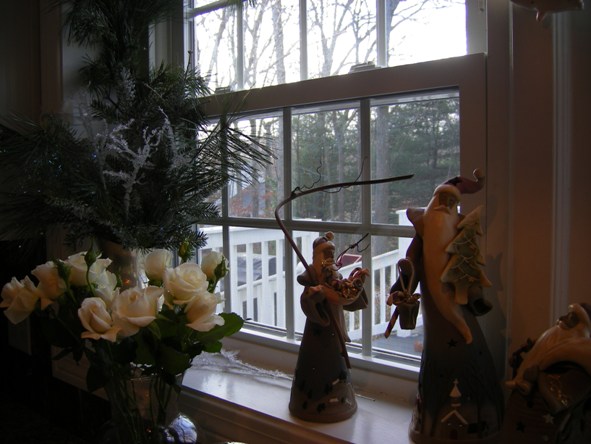
These Three Wise Men were my gift to my mother from Lake Arrowhead, CA.  They seemed appropriately muted and wintery for the kitchen.

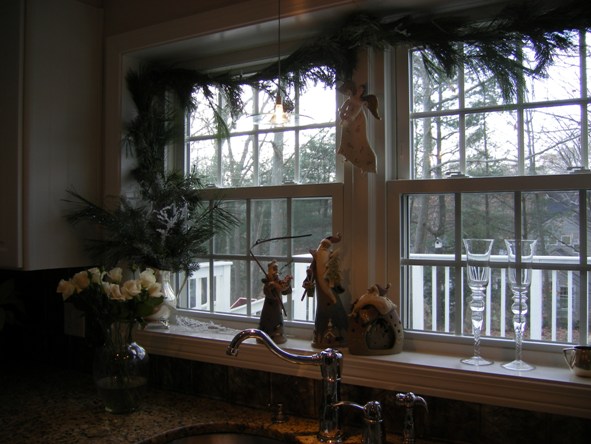
The view out the kitchen window.  The hand-made porcelin Angel was a gift from my cousin.

 Enjoy a chocolate as you make your way through the kitchen.

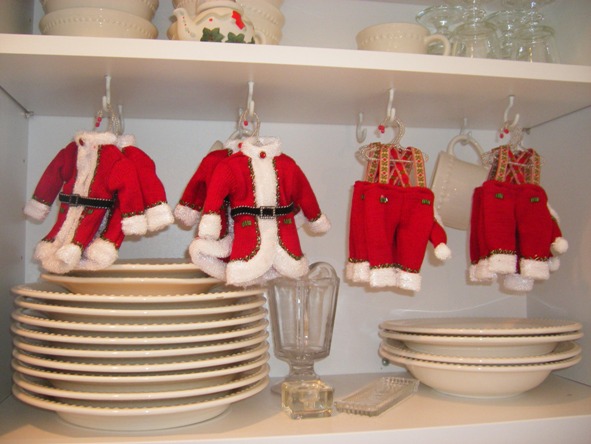
With no doors on the cabinets, everything had to look just right.  Cup hooks made the perfect hangers for Santa's closet.  I got these little coats and pants at Target.  From the kitchen, you walk to the right into the Dining Room.

Santa's Buffet, with decorations from The Pink Sleigh, Dazzle in Newport Beach, CA, and an antique candy dish that belonged to my Aunt Alice.

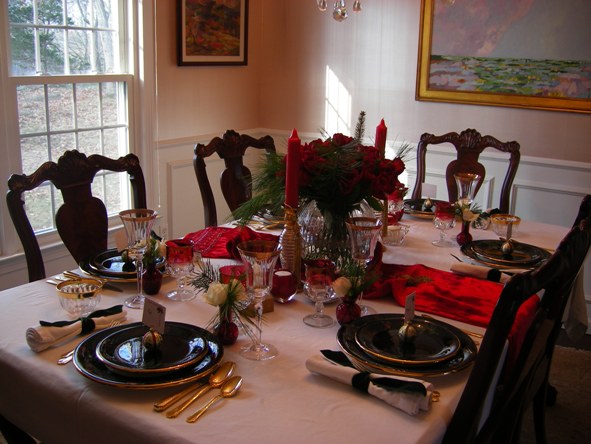
The Dining Room set for the Wall Family.  Black Winter dishes from Crate & Barrel, Towll flatware and Mikasa Jamestown Gold stemware were gifts from my mother.  My Aunt Alice's Crimson King glassware and a bowl full of Roses finish the setting.  Napkins are folded with Green Velvet Ribbon.  As you exit the Dining Room to the right, you are back into the Entryway, and enter the Living Room, otherwise known as the Martini Room, which is separated with French Doors.

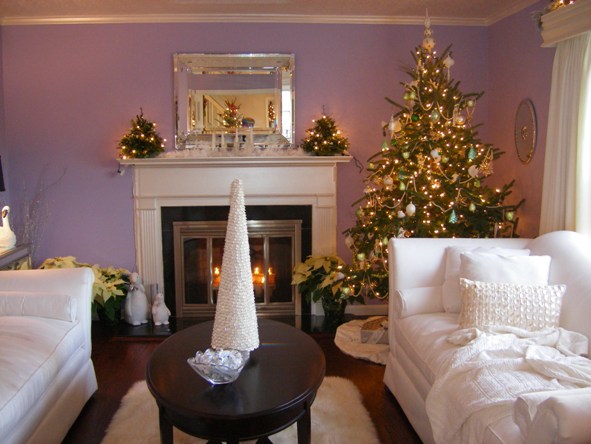
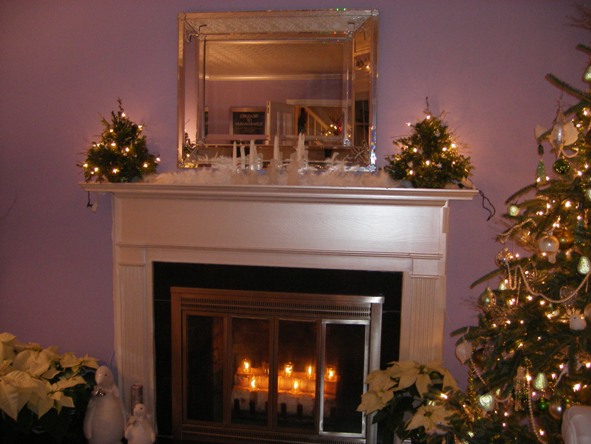
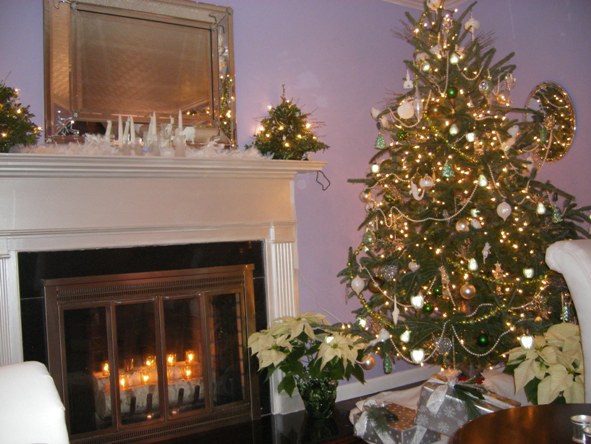
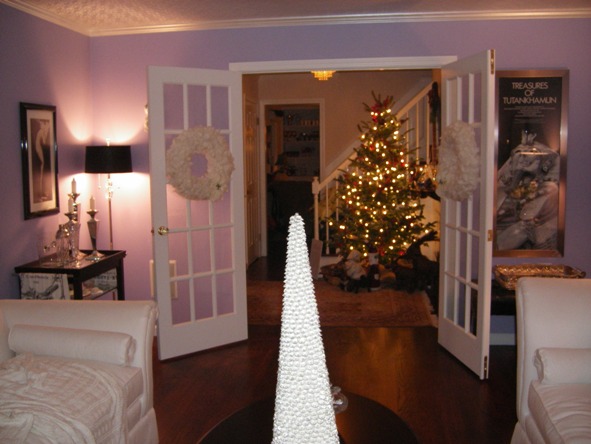
The Martini Room, with the second fireplace (the third was in the Master Bedroom). white chaise sofas. white penguins, and pearl pillows from Country Home, white sheepskin rug from The Village Shop in PA (you can find them online), mirrored cabinets, pearl tree and venetian mirror from The Bombay Store.  Remember them?  They were the first casualty of this recession.

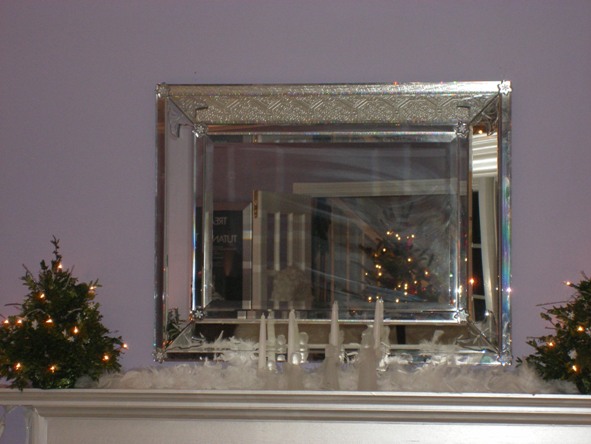
Susan and I pearlized the ceiling, crown molding and the mantel with Modern Masters paints.  You could only paint in one direction so every brush stroke and every roller pass was only one way.

You can see the ceiling reflected in the top frame of the mirrors.  Those are my mothers angles on the mantel.

My sister made the miniature boxwood Christmas Trees every year for her Church and I bought two of them.


The Tour concludes back into the Entryway from the Martini Room.  The feather wreaths were also from The Bombay Store.

Sunday
Dec182011

Go Flock Yourself


What was I thinking?  Volunteering to put my house on the Holiday House Tour?  I’d been on the tour the previous year, and other than getting to see other people’s houses, I wasn’t terribly impressed with the level of decorating I saw.   Most of them looked like skimpy department store decorating.

I thought to myself, “I can do better.”

Did I say that out loud?  Evidently I did and to the right people, because the next year, there was my address on the program.   The result was nothing short of spectacular.  The process, on the other hand, was exhausting. 

If you are going to put yourself and your house on display for Christmas, and you are doing this as a benefit for a worthy cause, and people are paying money to see your house, they should get their money’s worth.  I hope they did, because it cost me more than $2,000 to make my house look like it did, and that was for materials only.  The labor was free (meaning me and Susan).

I had five rooms on the first level that were decorated (so was the powder room , but somehow that didn’t make it into the photo shoot).  Three trees, all live.  With more than 1,000 lights on each tree, all wound by me.  Each room had a different color theme.  Each room had garlands (made by me) over the cornice boxes.  Each room had a vignette display of flowers, candy, candles and beverage glasses which matched the decorations in the room.  I don't miss much.

The Family Room was relatively easy, since it was the room I typically decorated.  Ditto the Dining Room, as I already had most of these decorations.  The Martini Room was the most fun.  I had my mother’s tree in there as the decorations were all silver, white, crystal and green, like the tree.  The Martini Room itself was decorated in all white, glass, silver and black.  The only color in the room was on the walls.   It was awesome.

It took me nearly three weeks to get the decorations made and put up.  I started the day after Thanksgiving to get ready for the December 9th tour.  When I finished, there was something missing.  Then I realized I needed to set the stage for guests coming into the in the Entry Way, just as spectacularly as when they finished the tour in the Martini Room. 

I needed a theme.  Winter wonderland.  All Natural.  Like a wintery storm came through and left its crystals everywhere.   I needed another tree.  I needed more decorations.  And I needed snow.   In the house. 

Out in CA, where they are so environmentally conscientious (except for their enormous SUV’s), it is shocking, but you can get a live tree with flocking on it.

What’s flocking, you ask?  Fake snow.  Actually I found out what it really is.  It’s the fibers that make up the fabric we call chenille, sprayed onto something when they are wet.  They stick, and then they dry out, and you have something that looks like it has just snowed. 

In theory.
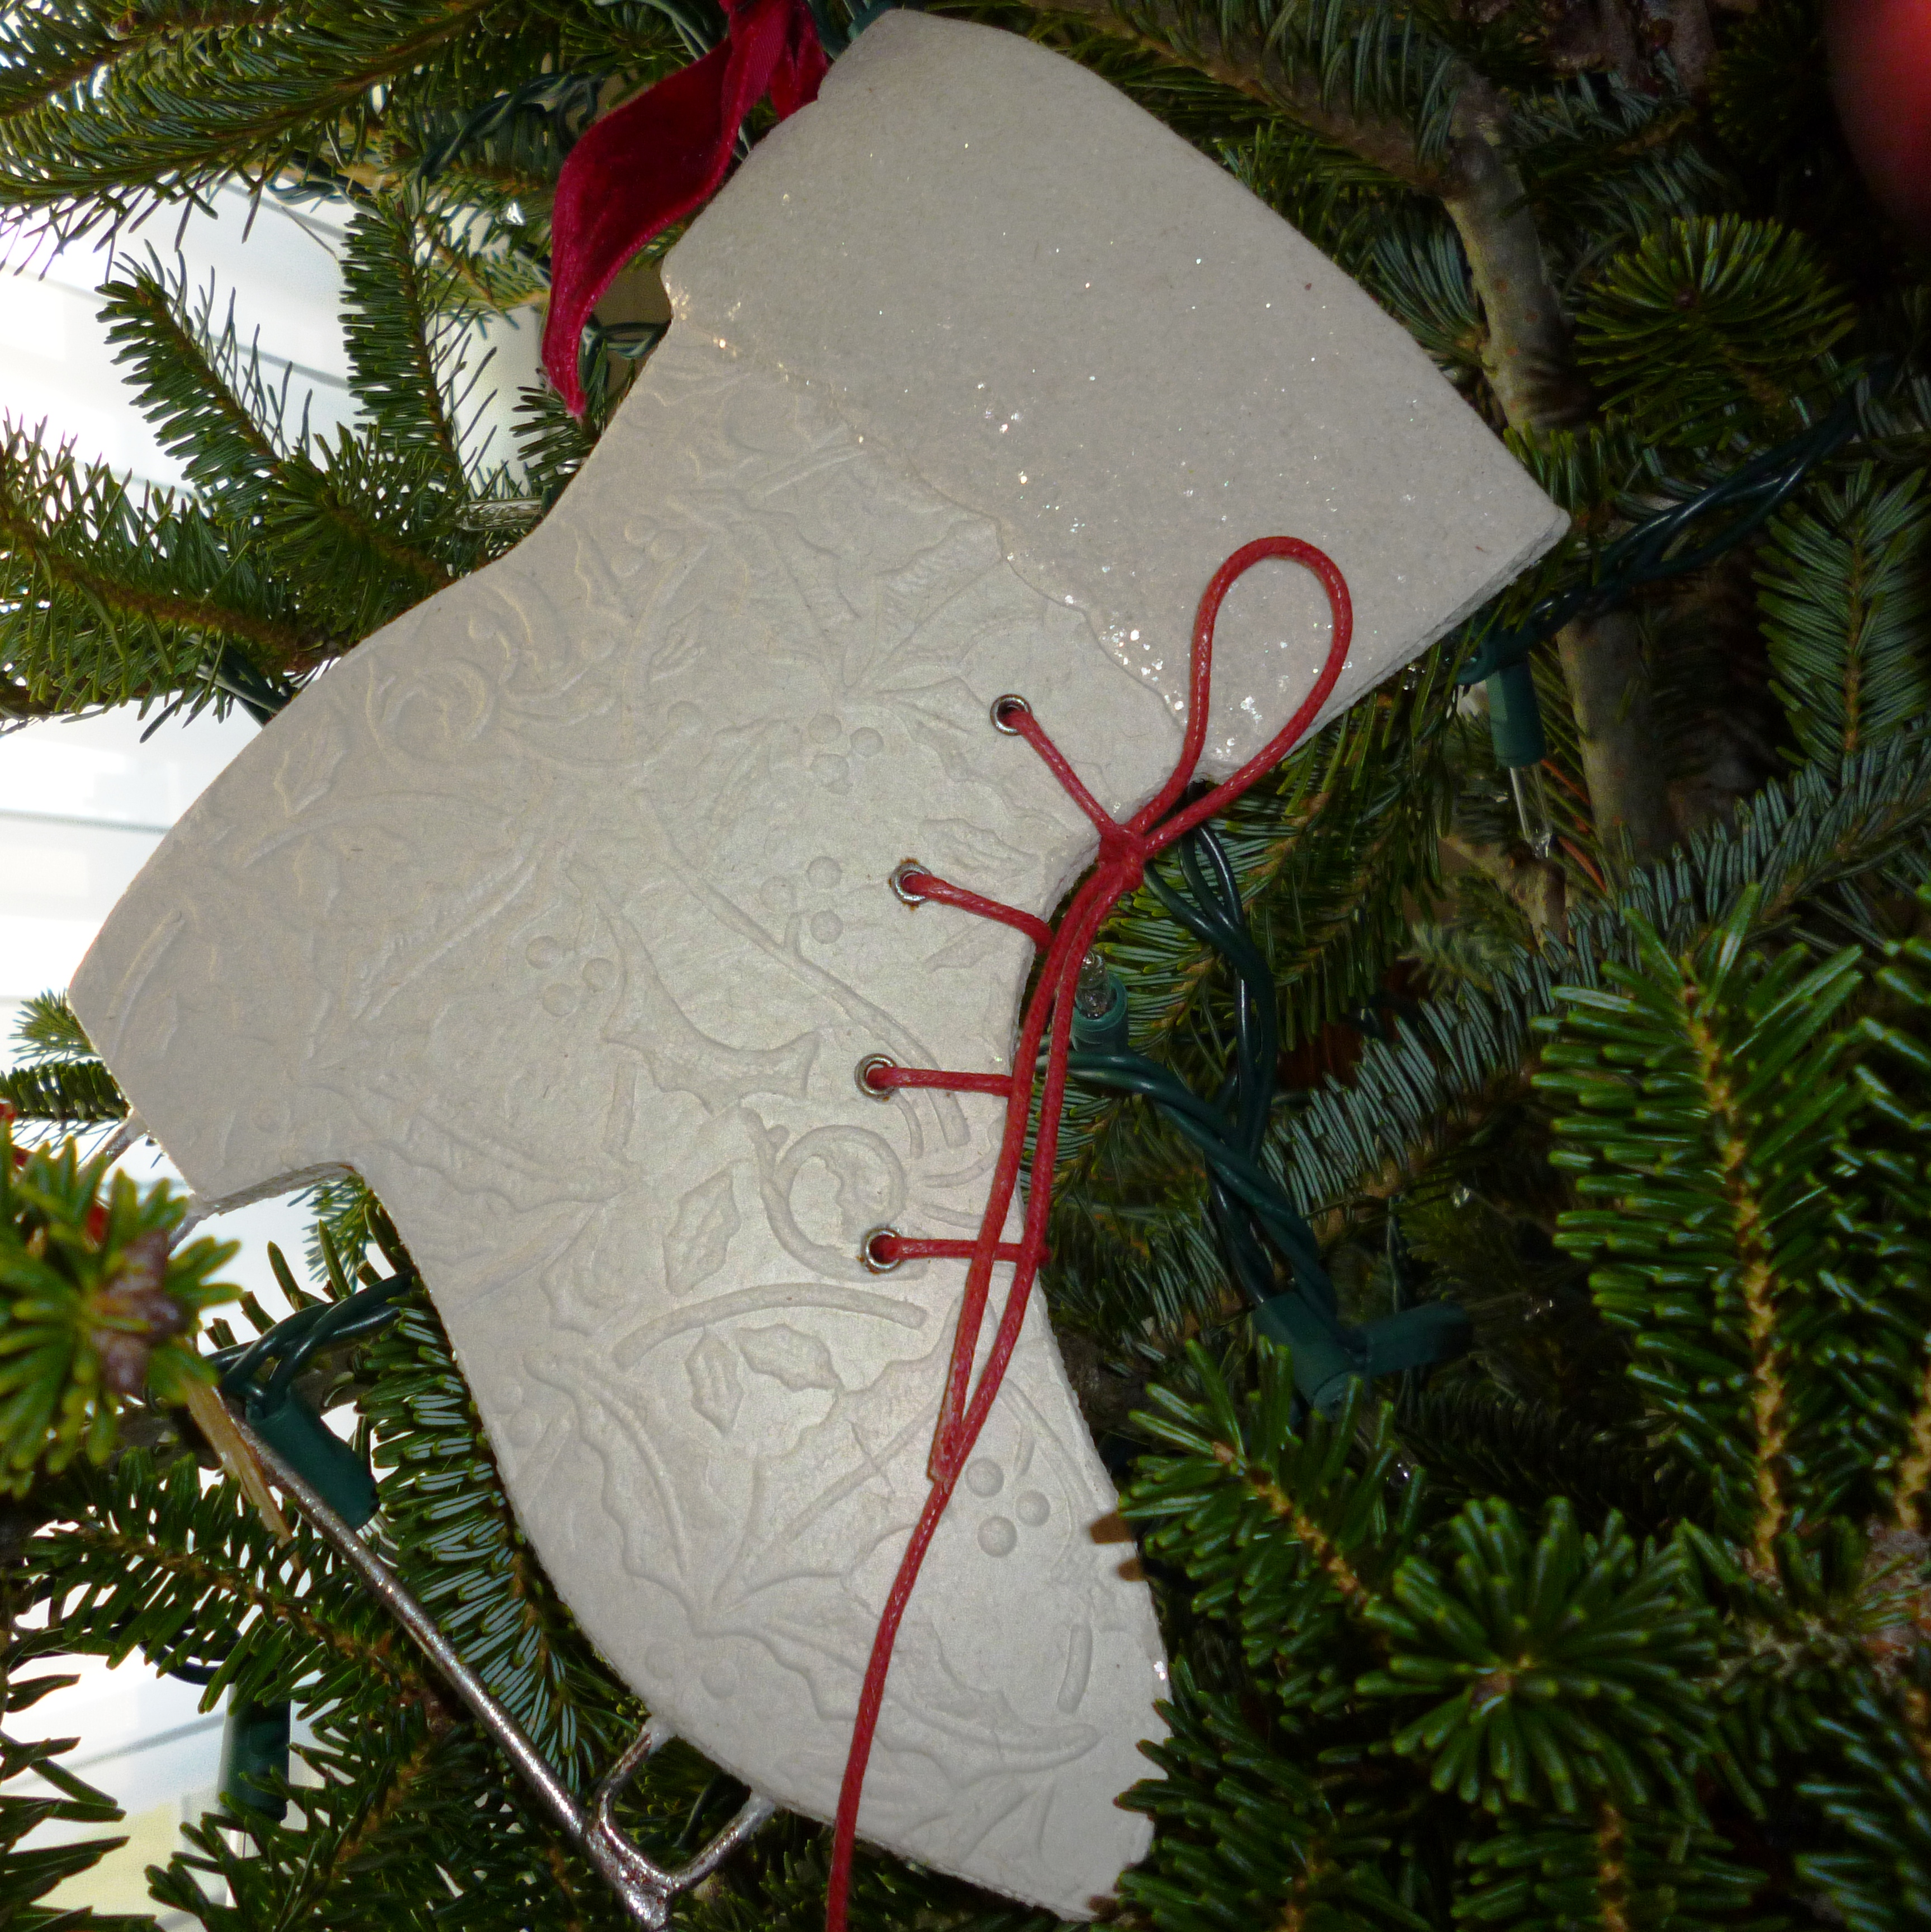
I should have just bought a fake tree, already lit and pre-flocked.  But I’m a purist, and I wanted a live tree, and I thought you could just go down to the corner tree farm and get one flocked.  Just like when I lived in CA. 

Turns out, the EPA has more or less outlawed that practice because people throw their live trees into the environment in responsible fashion, except now there are all of those chemicals stuck to it.  Not good for mother nature.

“If I can’t find a reindeer, I’ll make one instead.” thought The Grinch.

The kit showed up a few days later with thorough explanations for attaching this thingy to your garden hose, then attaching this other thingy to the bag of fibers, pointing it at the tree, and turning the water on.   The garden hose should have been my first clue.  (I thought I was just going to get something in a spray can.)

As the sun was going down, Chris pulls up to the top of the driveway, and sees me standing outside in the dark, spraying this poor tree.  He said he thought he was in the last scene in the movie "Scarface."

All I did was water the tree.  The thingy wouldn’t work, the fibers went everywhere but on the tree, and the entire kit was a complete waste of money. 

But I wasn't going to give up.

I had purchased some white glitter and a can of spray glue, and had used it on many of the decorations.  Something you want to do outside, or in your garage I might add, and not anywhere near anything you care about. 

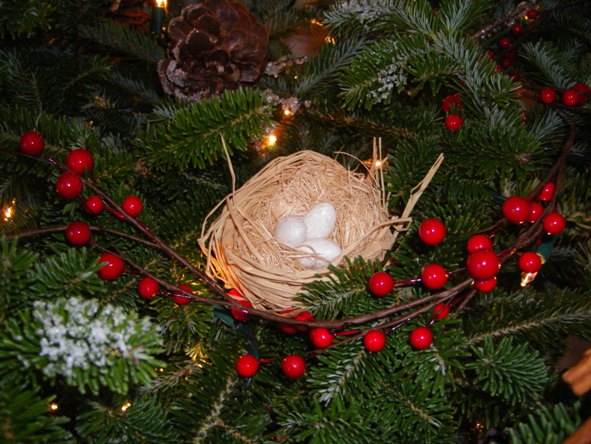
In fact, my sister made the bird’s nests out of raffia and some Jordan Almonds, and we glittered those and stuck them on the tree.  We did the same for a bag of pine cones.  It was quite lovely.   But I didn’t think to do that to the tree until it was too late.  It was already in the entryway, and it already had decorations on it. 
  What to do, what to do?

My friend Susan is my Go To Girl.  Anytime I need advise in the way of artistic, creative, problem solving, I ask her. 
In fact, she and I together painted both the Dining Room and the Martini (nee Living) Room walls, ceiling and moldings with pearlized paint.  There was analyptic wallpaper on the ceilings that made them look like they were the old fashioned tin ceilings.  They had been painted with copper paint when I bought the house.  While they were lovely, the ceilings just crashed down on you and we decided they needed to be lightened up.    We did the ceiling, the mantel and crown molding in pearlized white.  We did the walls in the Dining Room a pearlized pink.  We called it Tin Pearls and Satin Ribbons.  If you look closely in the mirror in the Martini Room, you can see the ceiling reflected in the frame.  I hope the new owners didn’t paint over it.

But I digress.

Susan asked, “Is there anything I can help you with?” 

(You would think she would have learned her lesson by now.)

So branch by branch, she dipped into a puddle of craft clue and then into a pile of white glitter.   Branch, by branch, by branch.  It took her all afternoon, but at least she can say she got flocked.
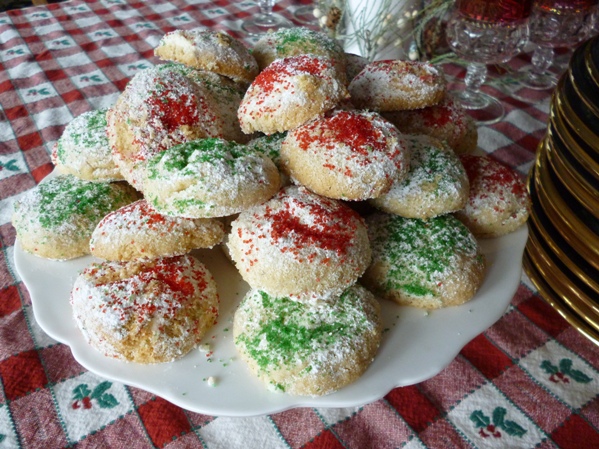
I sent her home with a tin of these cookies my family called Nut Gems (See Recipes).


Page 1 2 3